AR-15 Bolt Catch Problems
I recently built an AR-15, which was quite a learning experience and ultimately turned out great. But along the way, I had one issue with the bolt holdback feature not working correctly.
Last Round Bolt Hold Open
The typical AR-15 design includes a last round bolt hold open feature to lock back the bolt after firing the last round in the magazine. The bolt catch is the part responsible for this and is positioned behind the magwell in the lower receiver. When the last round/catridge of the magazine is fired, the bolt moves back and ejects the spent brass. Meanwhile, the magazine follower pushes up on the bolt catch, which stops the bolt from moving forward again. This holds the bolt back during reload for a quick chambering of the first round in the next magazine.
The Problem
What I was seeing on my newly built AR was the bolt wasn’t being held back after firing the last round. Some research online pointed me towards the gas and buffer system. Perhaps the bolt just wasn’t moving back far enough to get behind the catch. I fired some rounds to evaluate the ejection pattern, which is ideally straight out the side or slightly back (between 3 and 4 if you imagine a clock face with the muzzle pointed towards 12). The ejection turned out to be ok, suggesting the bolt was functioning correctly.
Some more research guided me towards checking the bolt catch to see if that was functioning correctly. With no magazine and the upper and lower receivers seperated, the bolt catch was moving freely. After reassembling and firing one round, I manually pulled the bolt back and inspected the bolt catch, and found that bolt catch was not being pushed up by the magazine follower.
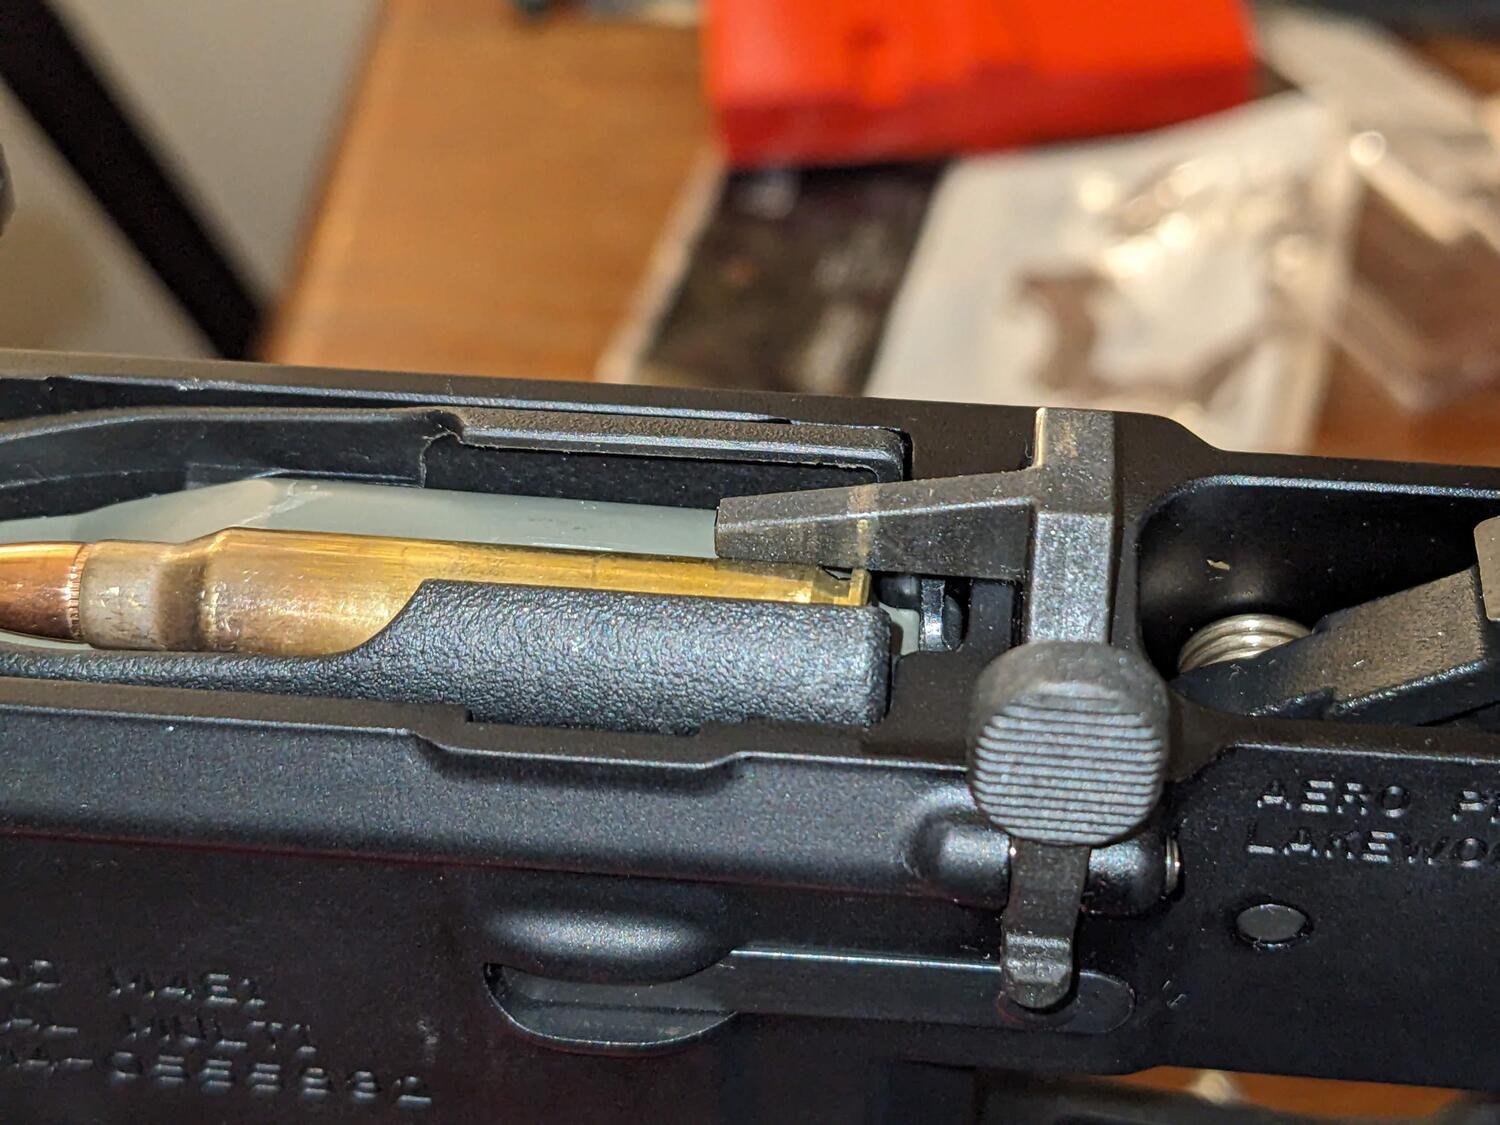
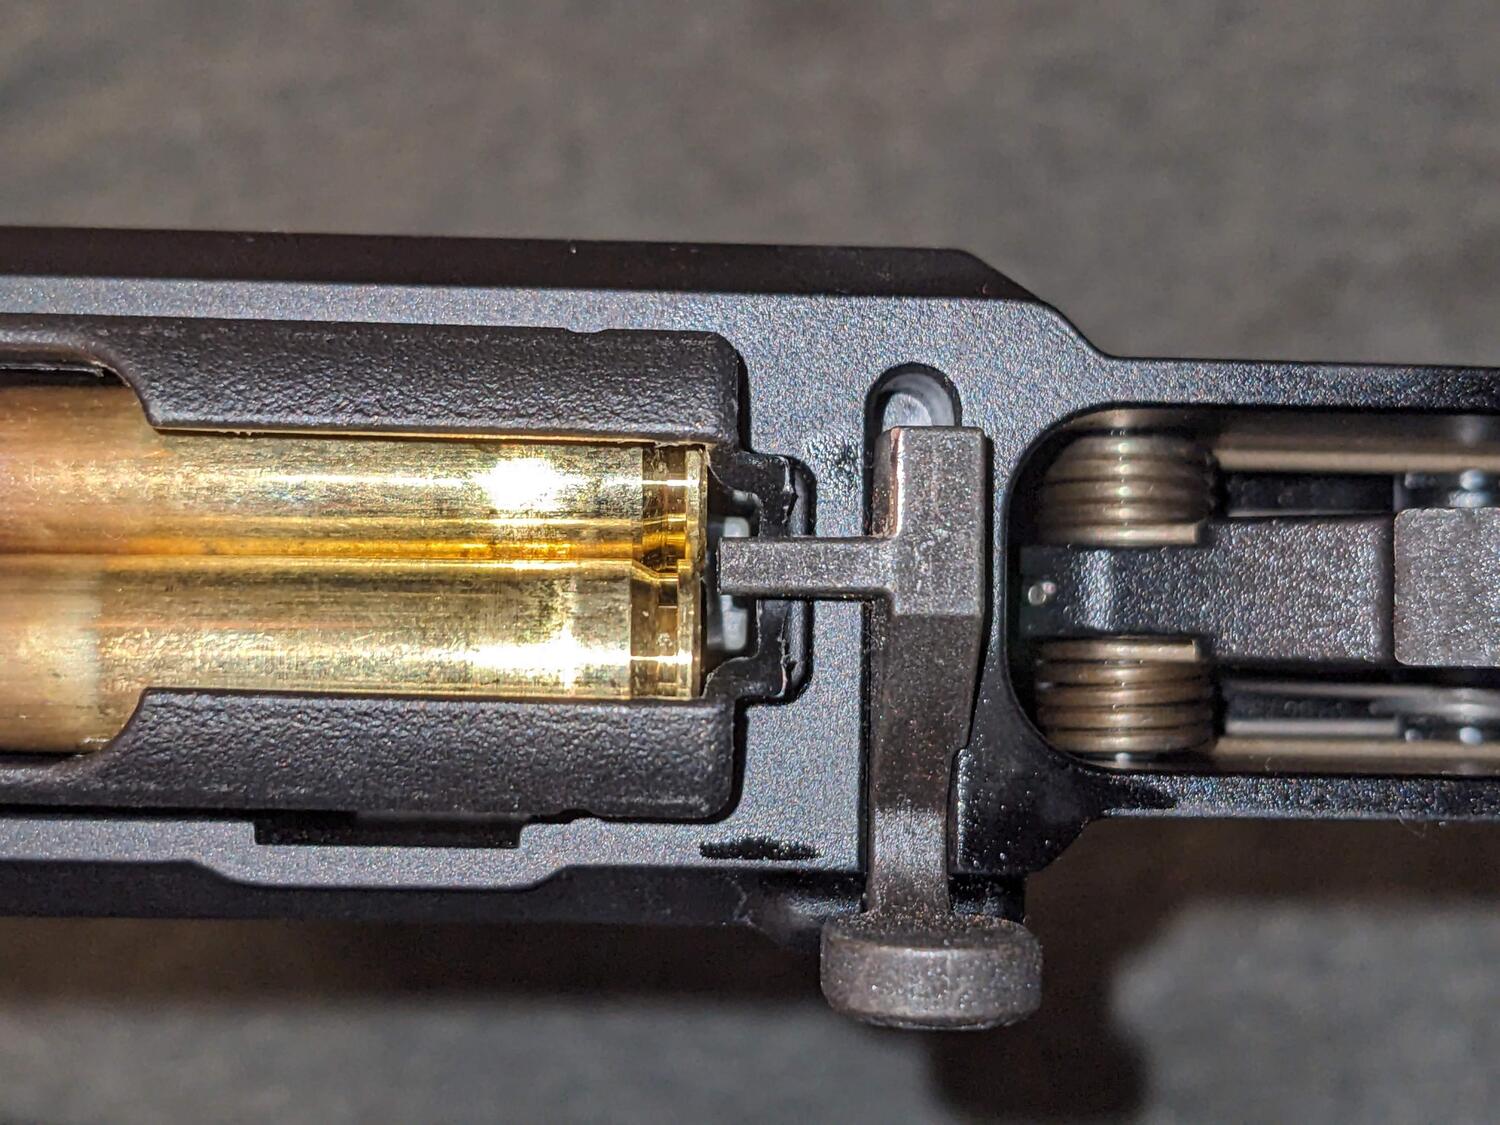
This is what should be happening, with the follower pushing up on the bolt catch.
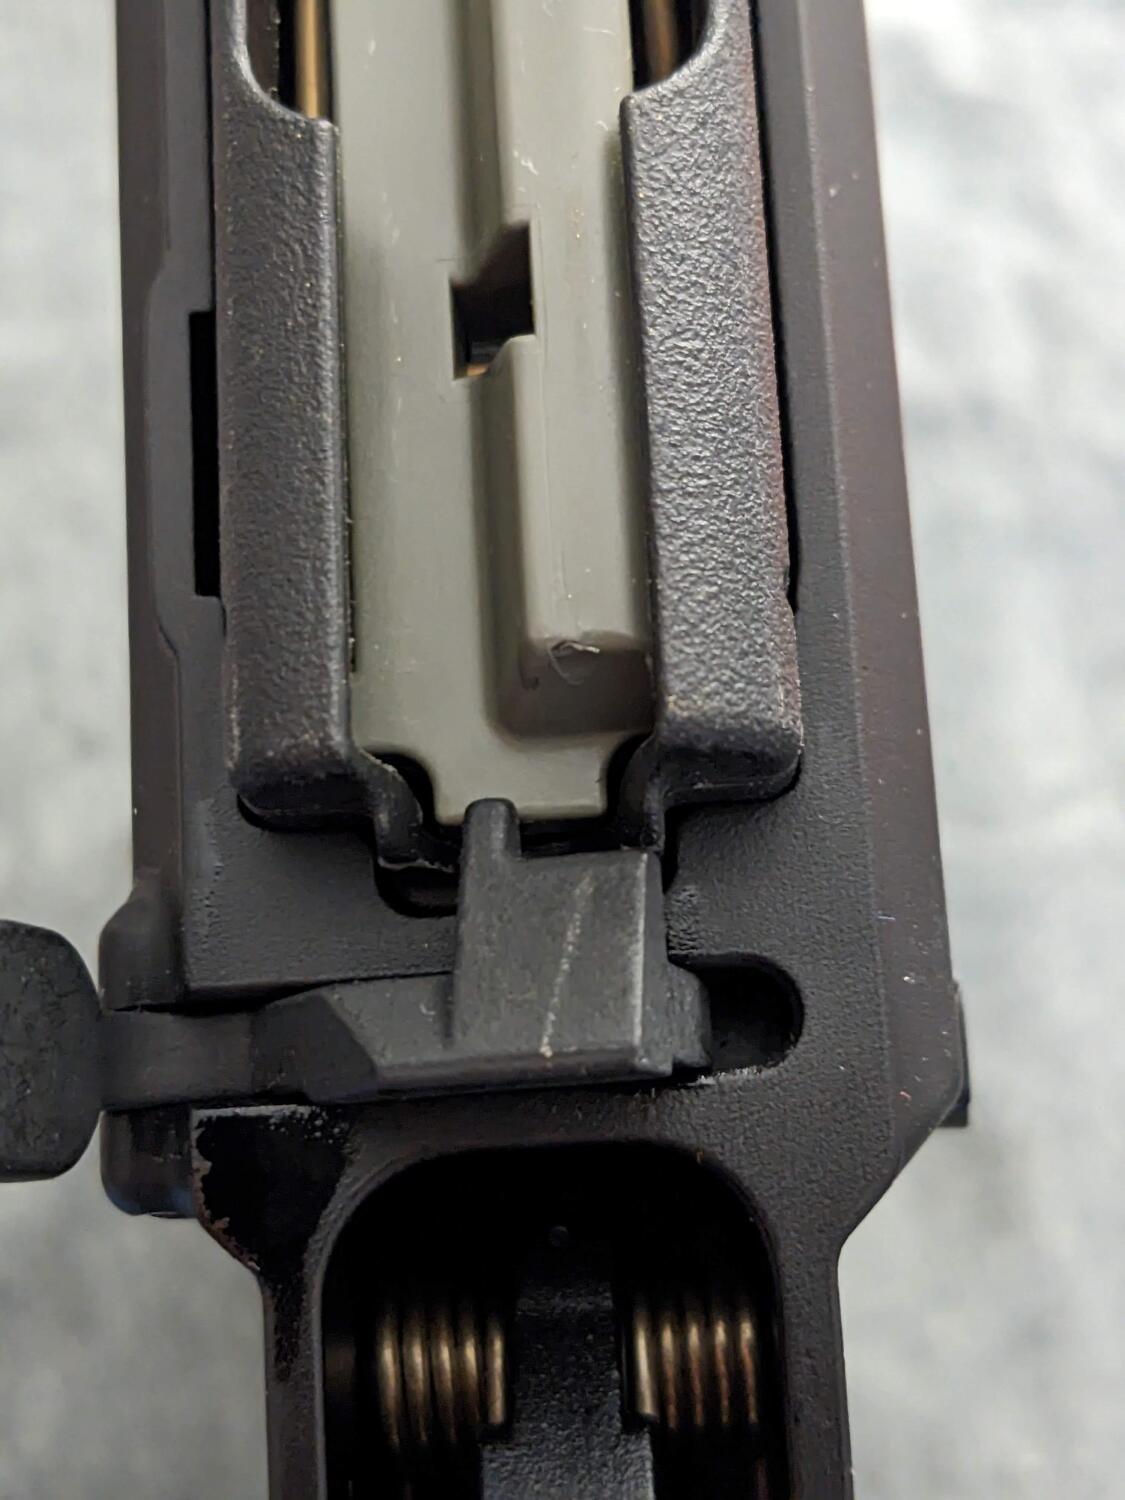
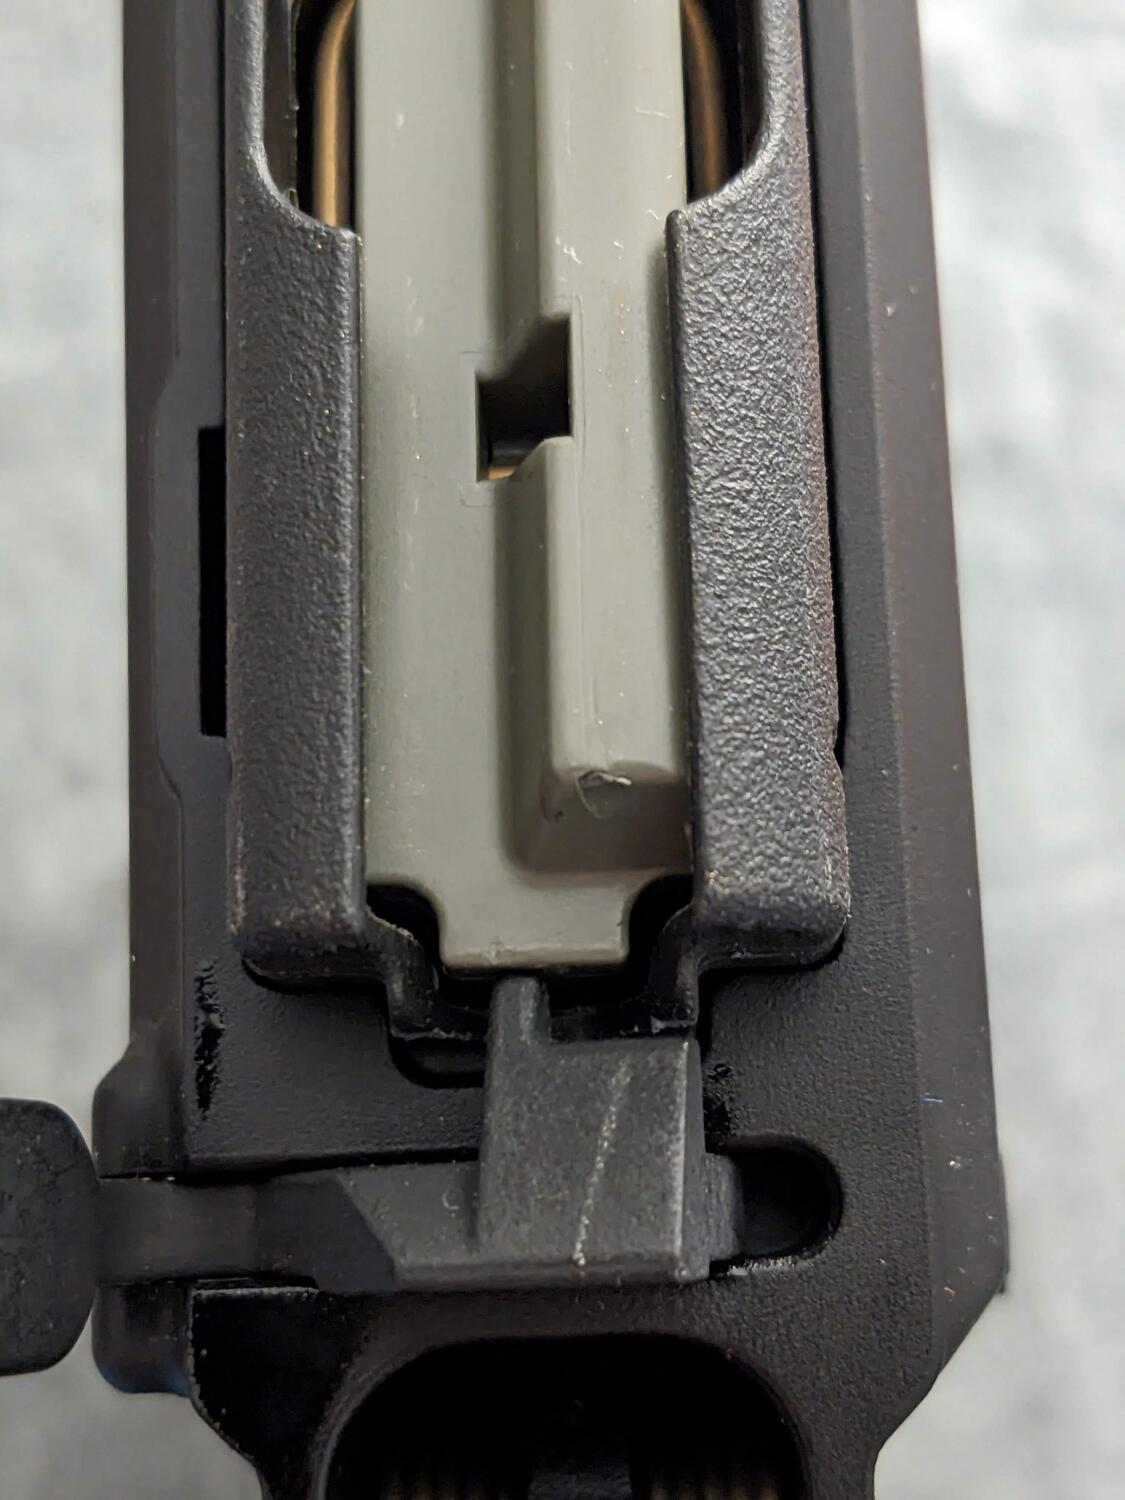
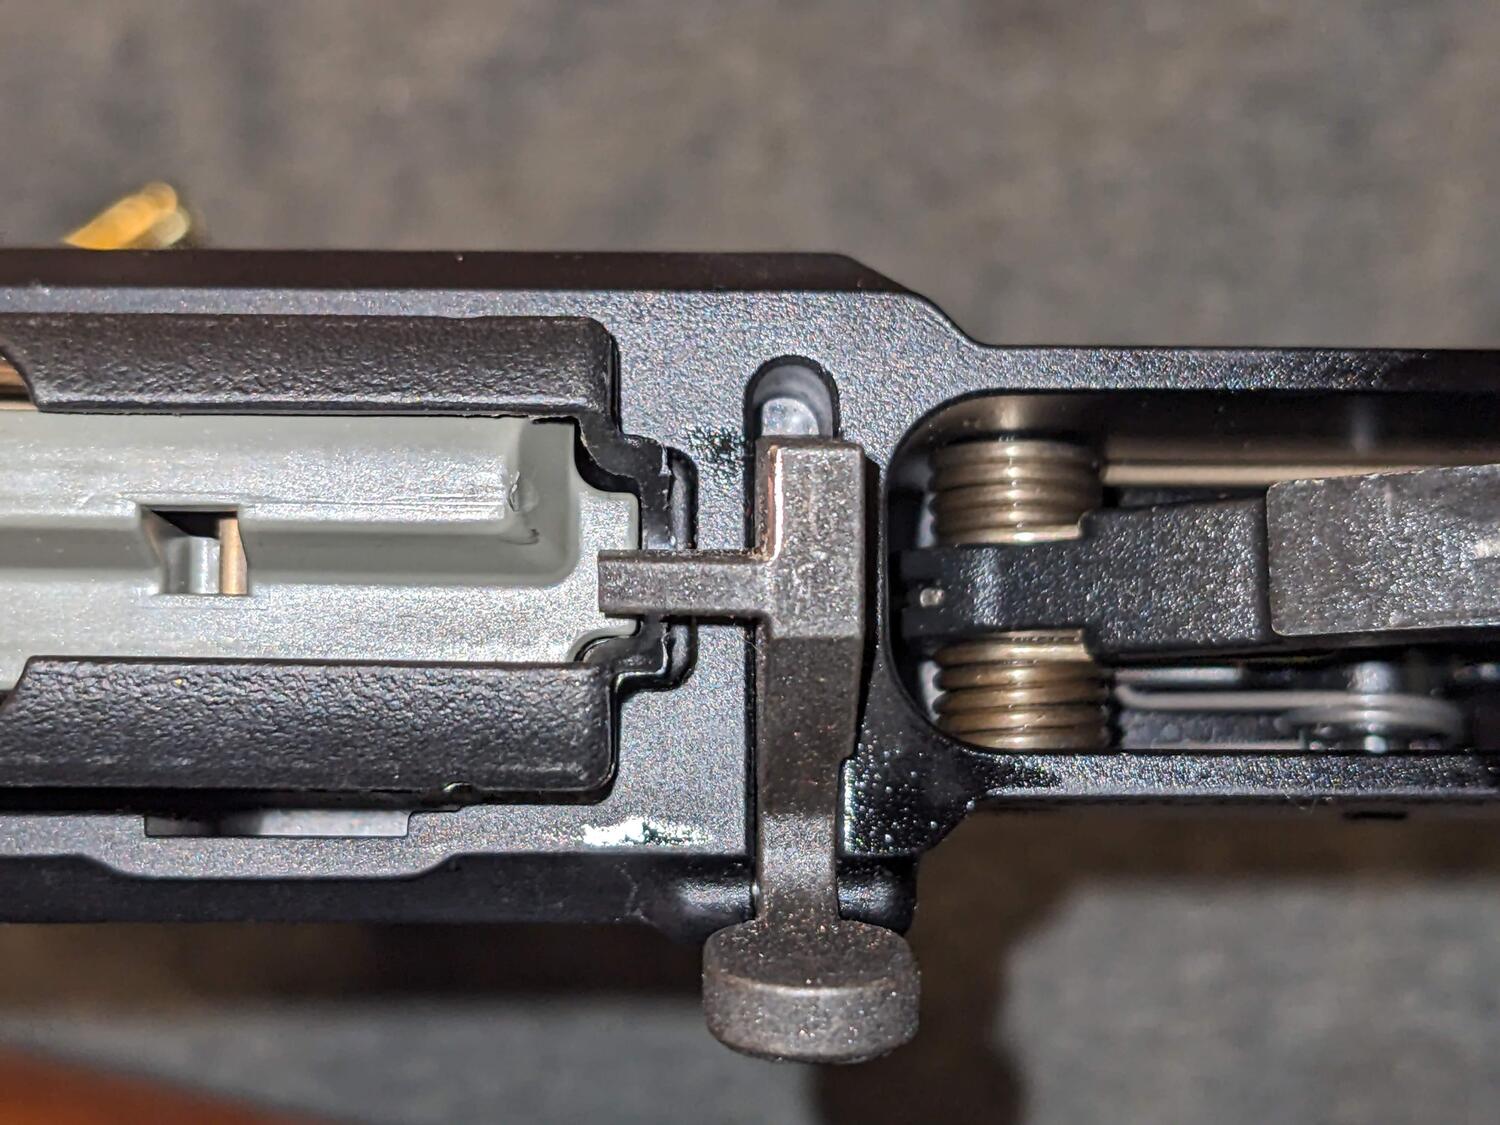
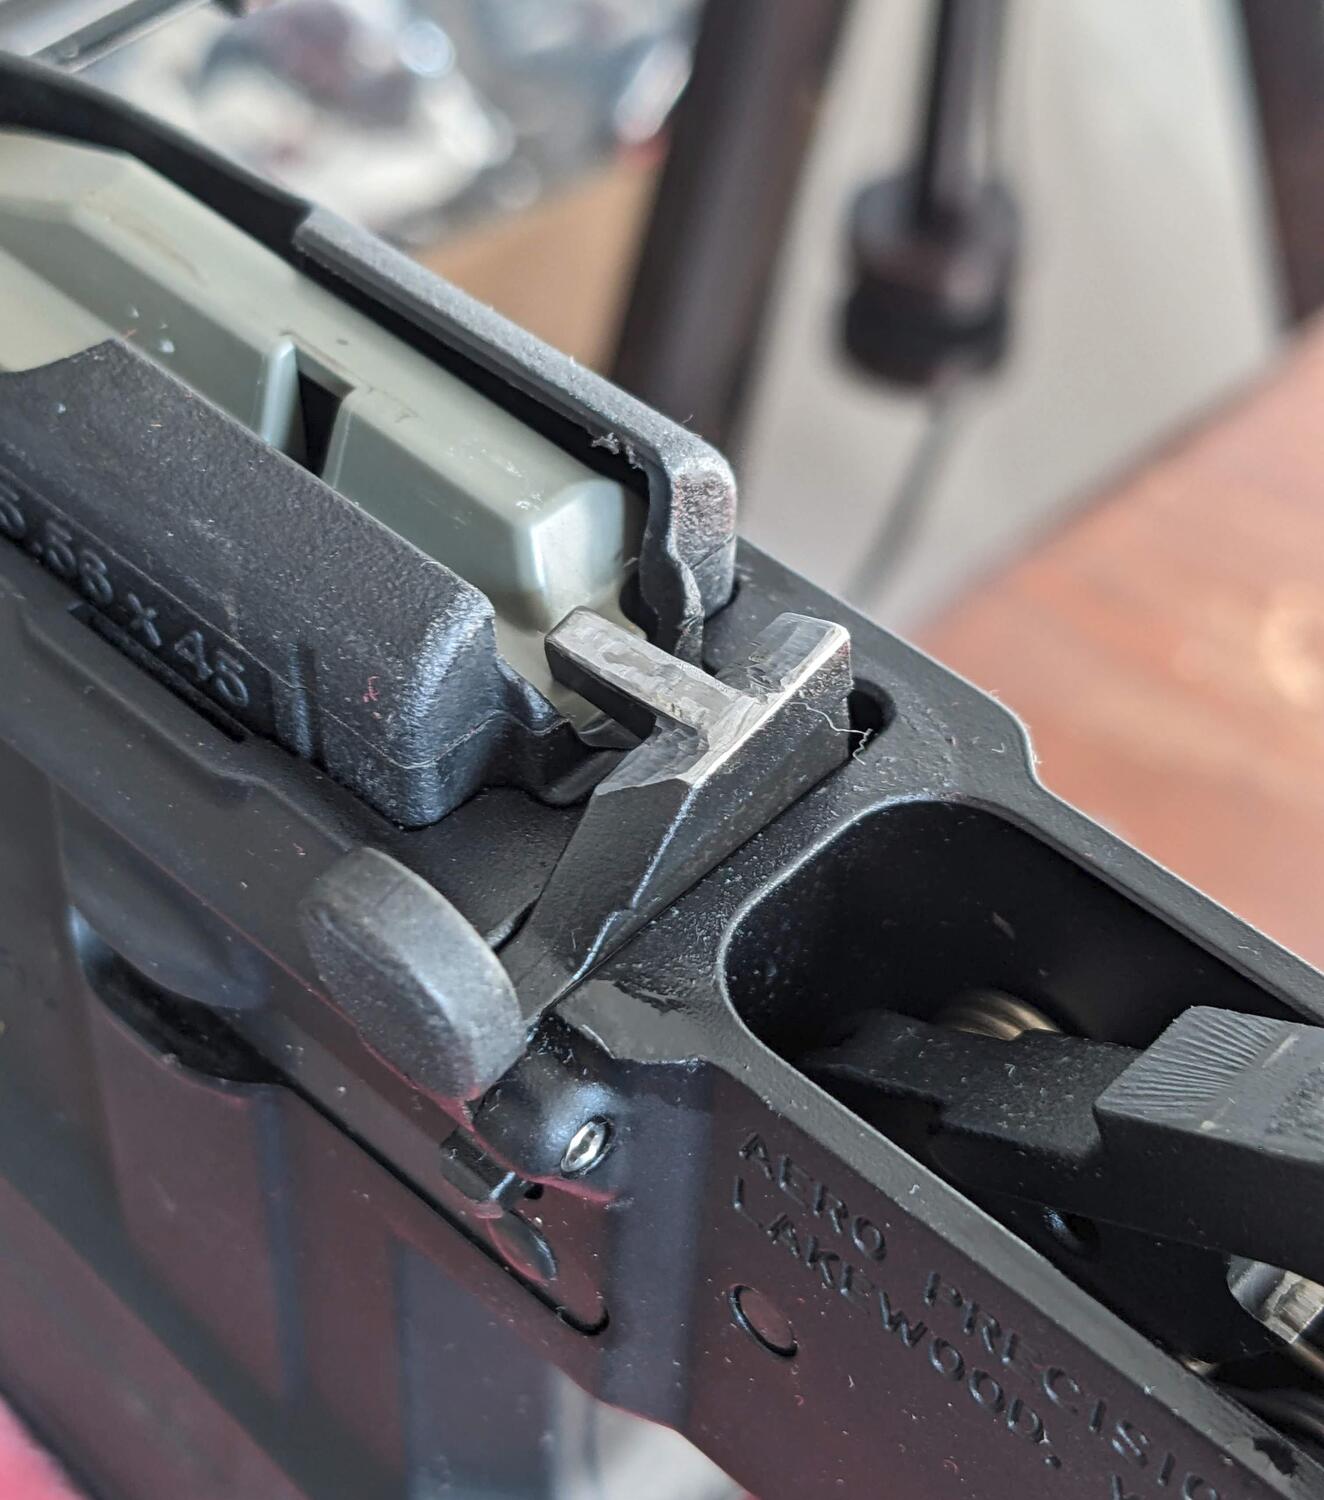
This is what was actually happening when the bolt wasn’t being held open.
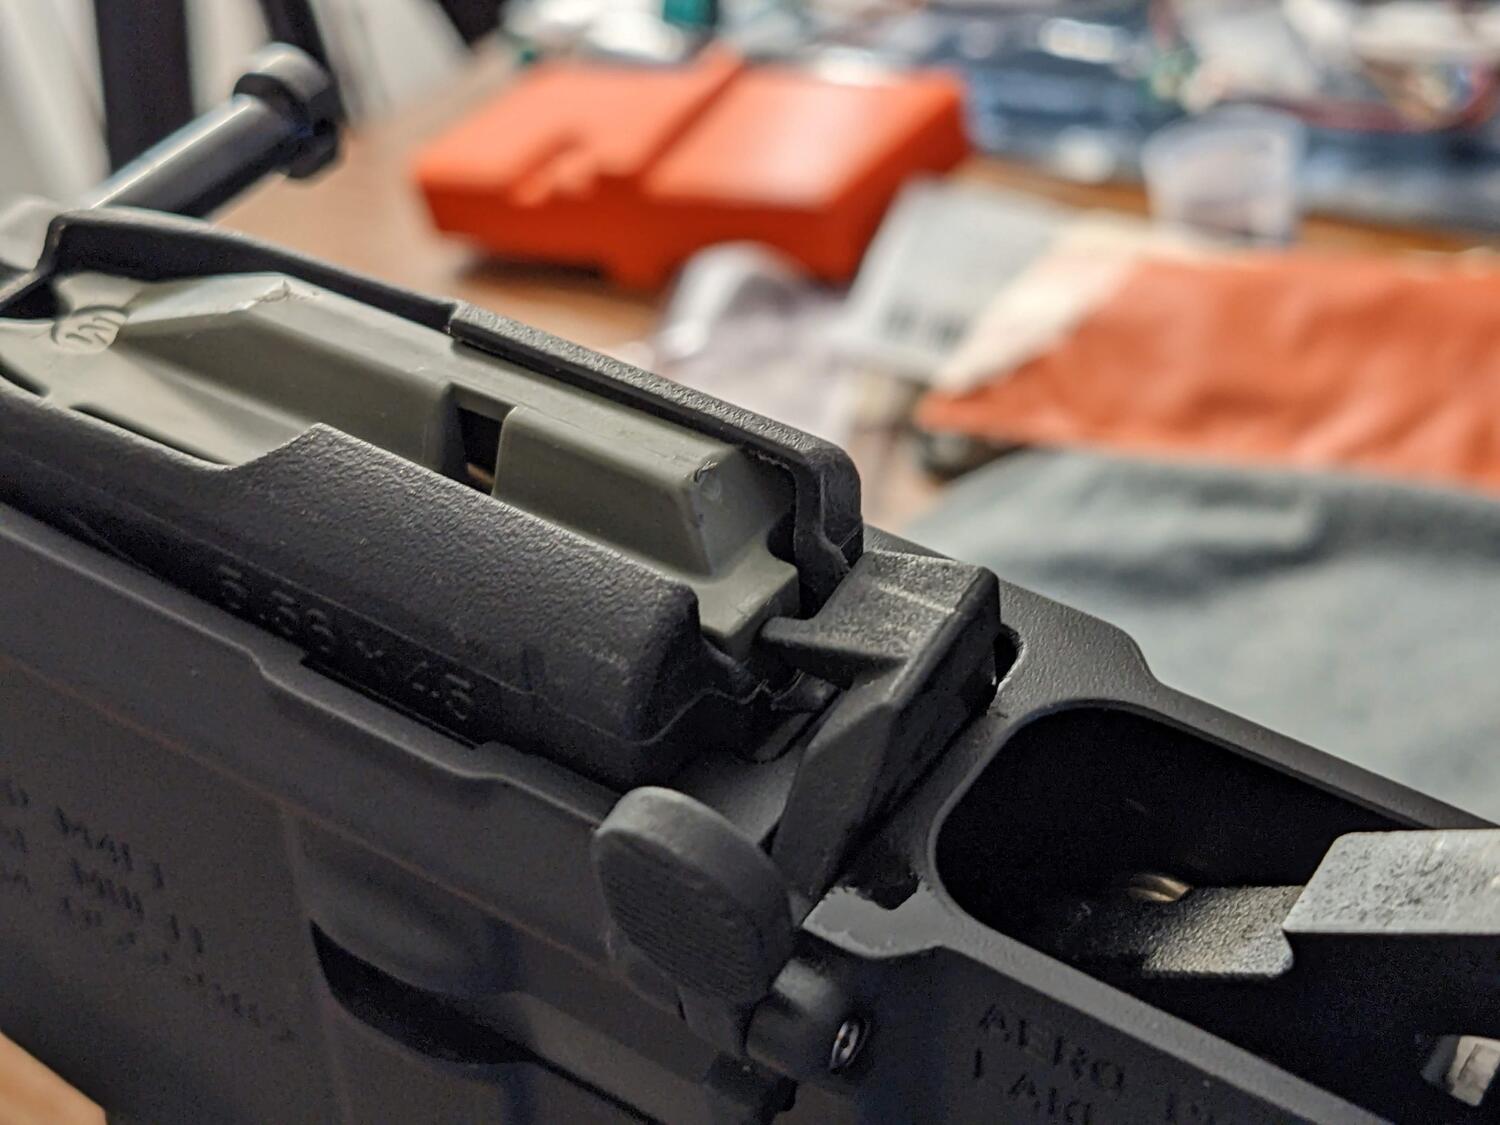
Here’s another angle that clearly shows the follower missing the finger of bolt catch.
The magazine follower was jamming in front of the little finger of the bolt catch and not pushing up from below as it should be. It seems the problem could come from a combination of sources:
- Tolerance stacking between the bolt catch, lower receiver, and magazine.
- The magazine follower tilting too far forward.
- The Magpul PMAG having thicker walls than milspec, causing the bolt catch to not overlap the follower as much as a steel magazine.
After some online research, I found other people have seen and solved this issue in a few different ways:
- Switch to using only steel magazines (but I already have a bunch of PMAGs).
- Try a bunch of different magazines and bolt catches to see what works (and waste the rest?).
- Add metal shims to the magazine follower to prevent it from tilting forward (and risk future reliability problems with the magazine).
- Modify a AR9 bolt catch which has longer follower catch geometry.
There are quite a few discussions about the last option (here and here are just two I found). I wanted to use Magpul PMAGs I had already purchased a few, but I didn’t want to mess around with the follower and potentially cause even more reliability issues, so I decided to try the AR9 catch method.
I bought a CMMG MK9 bolt catch from Brownells and got to work.
Bolt Catch Modifications
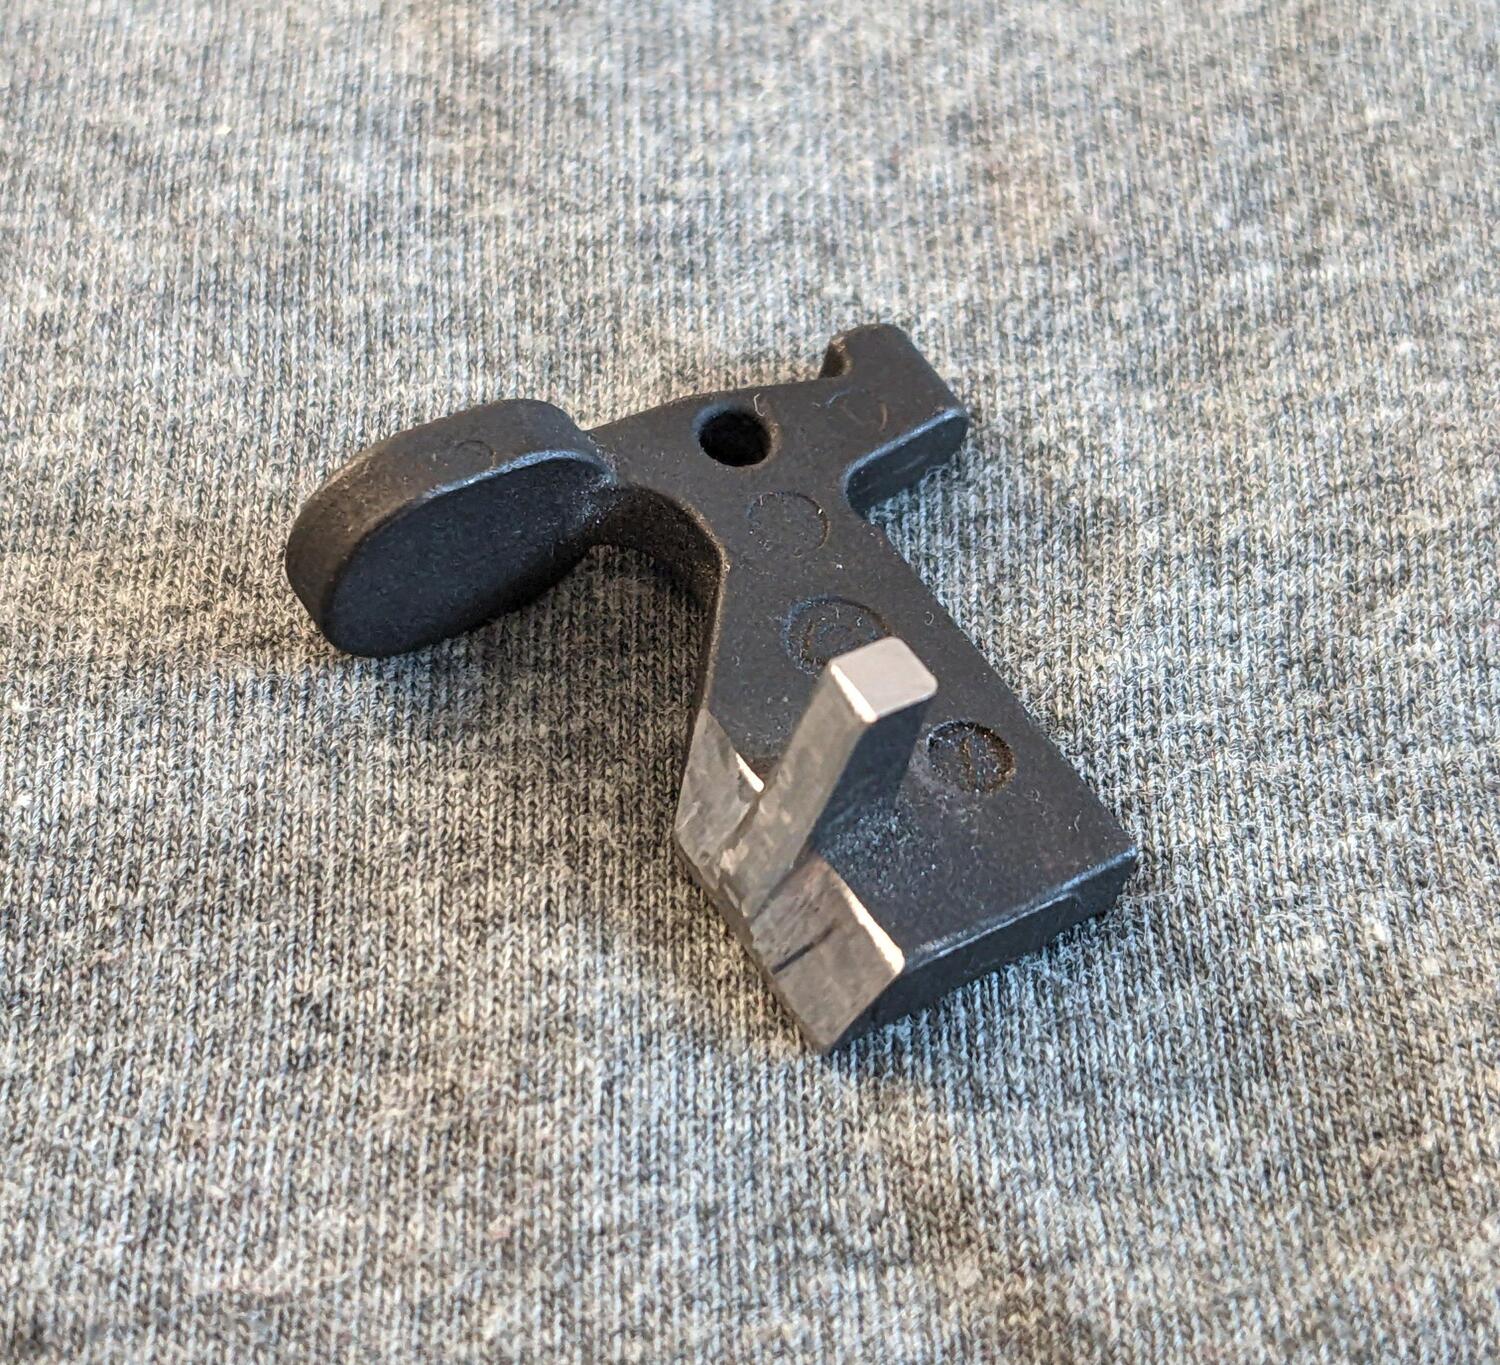
I first removed the upper receiver and the original bolt catch. I loaded one round in a magazine and installed the AR9 catch. With the magazine mostly inserted I marked where to make the first cut. The catch should extend over the follower as much as possible without interfering with the catridges.
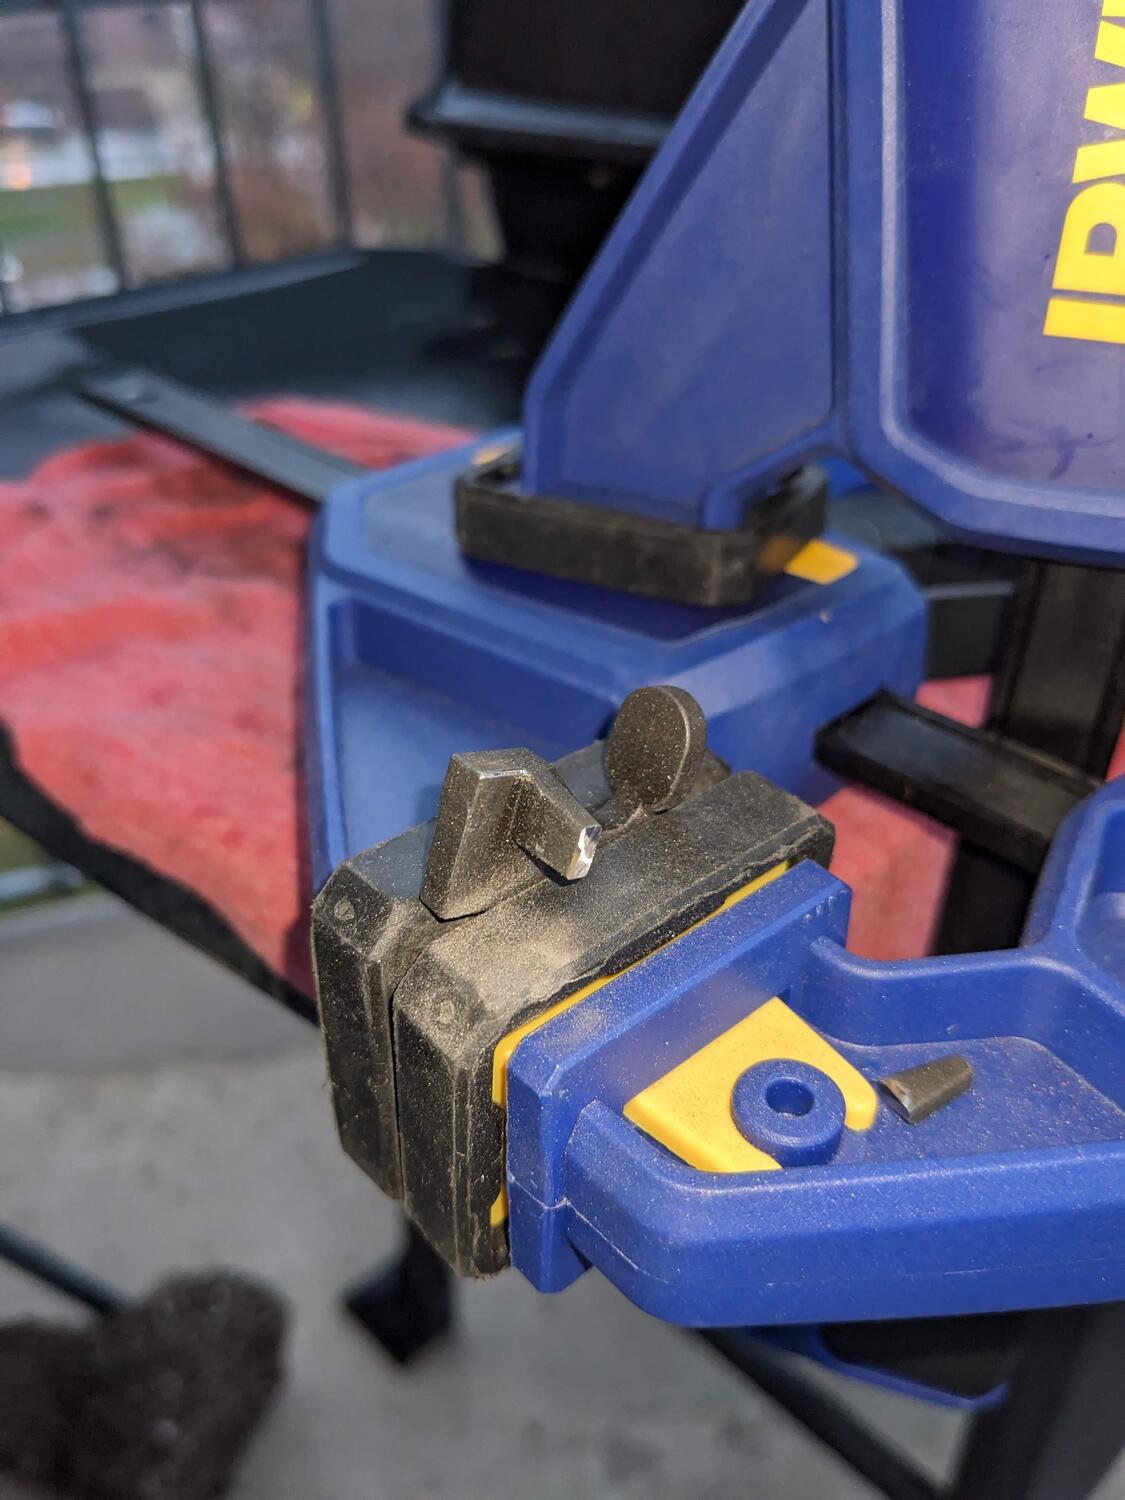
Next I made the first rough cut with a Dremel and cutting wheel (yes, I’m doing this with two clamps and a grill on my apartment balcony, don’t worry about it).
I fit the catch and checked the clearance between the catch and the loaded rounds, grinding the catch until it fit well.
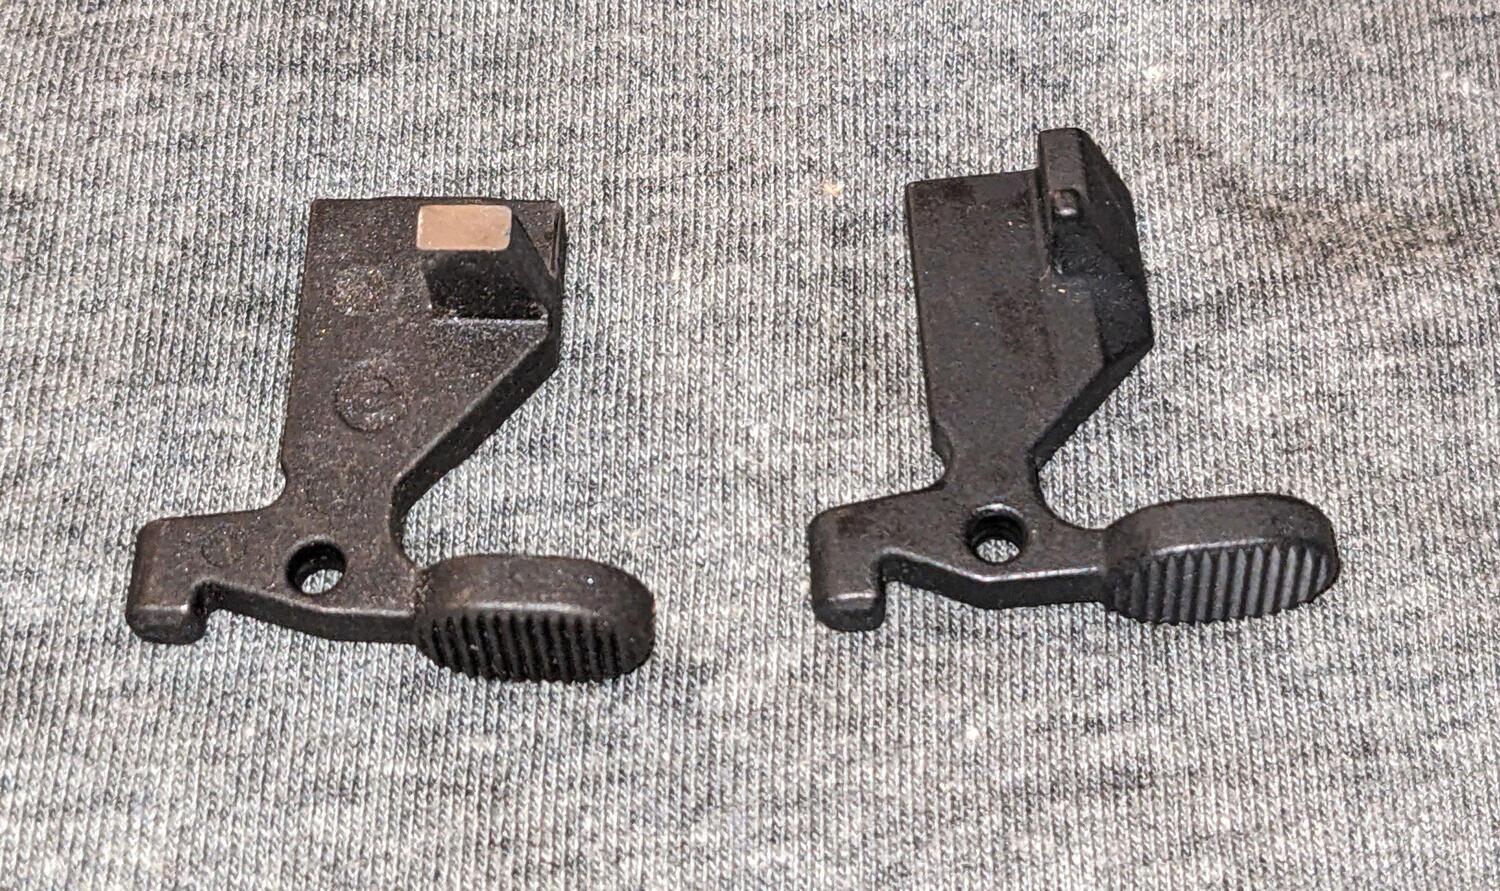
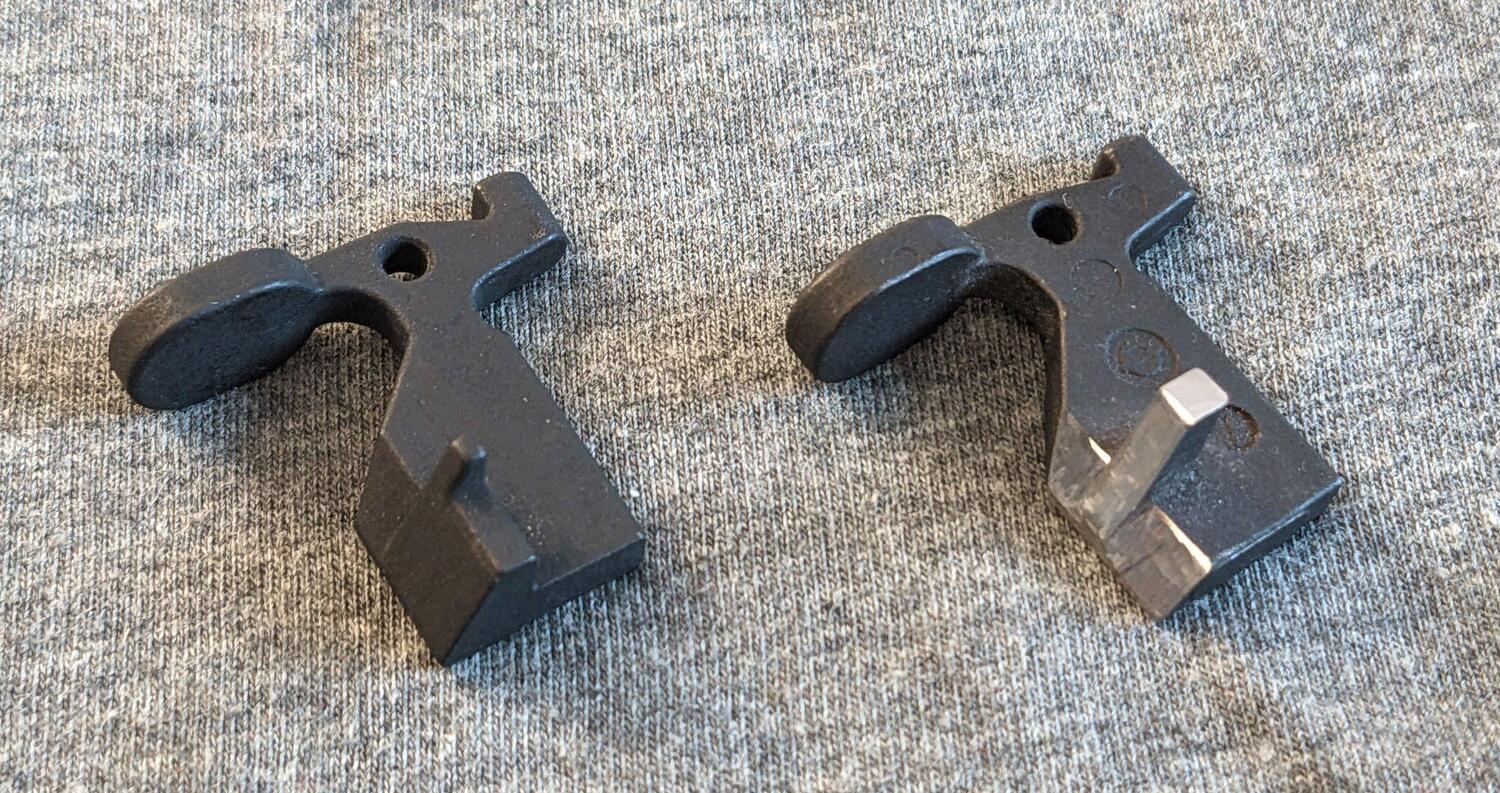
Here’s the original and modified catch so far.
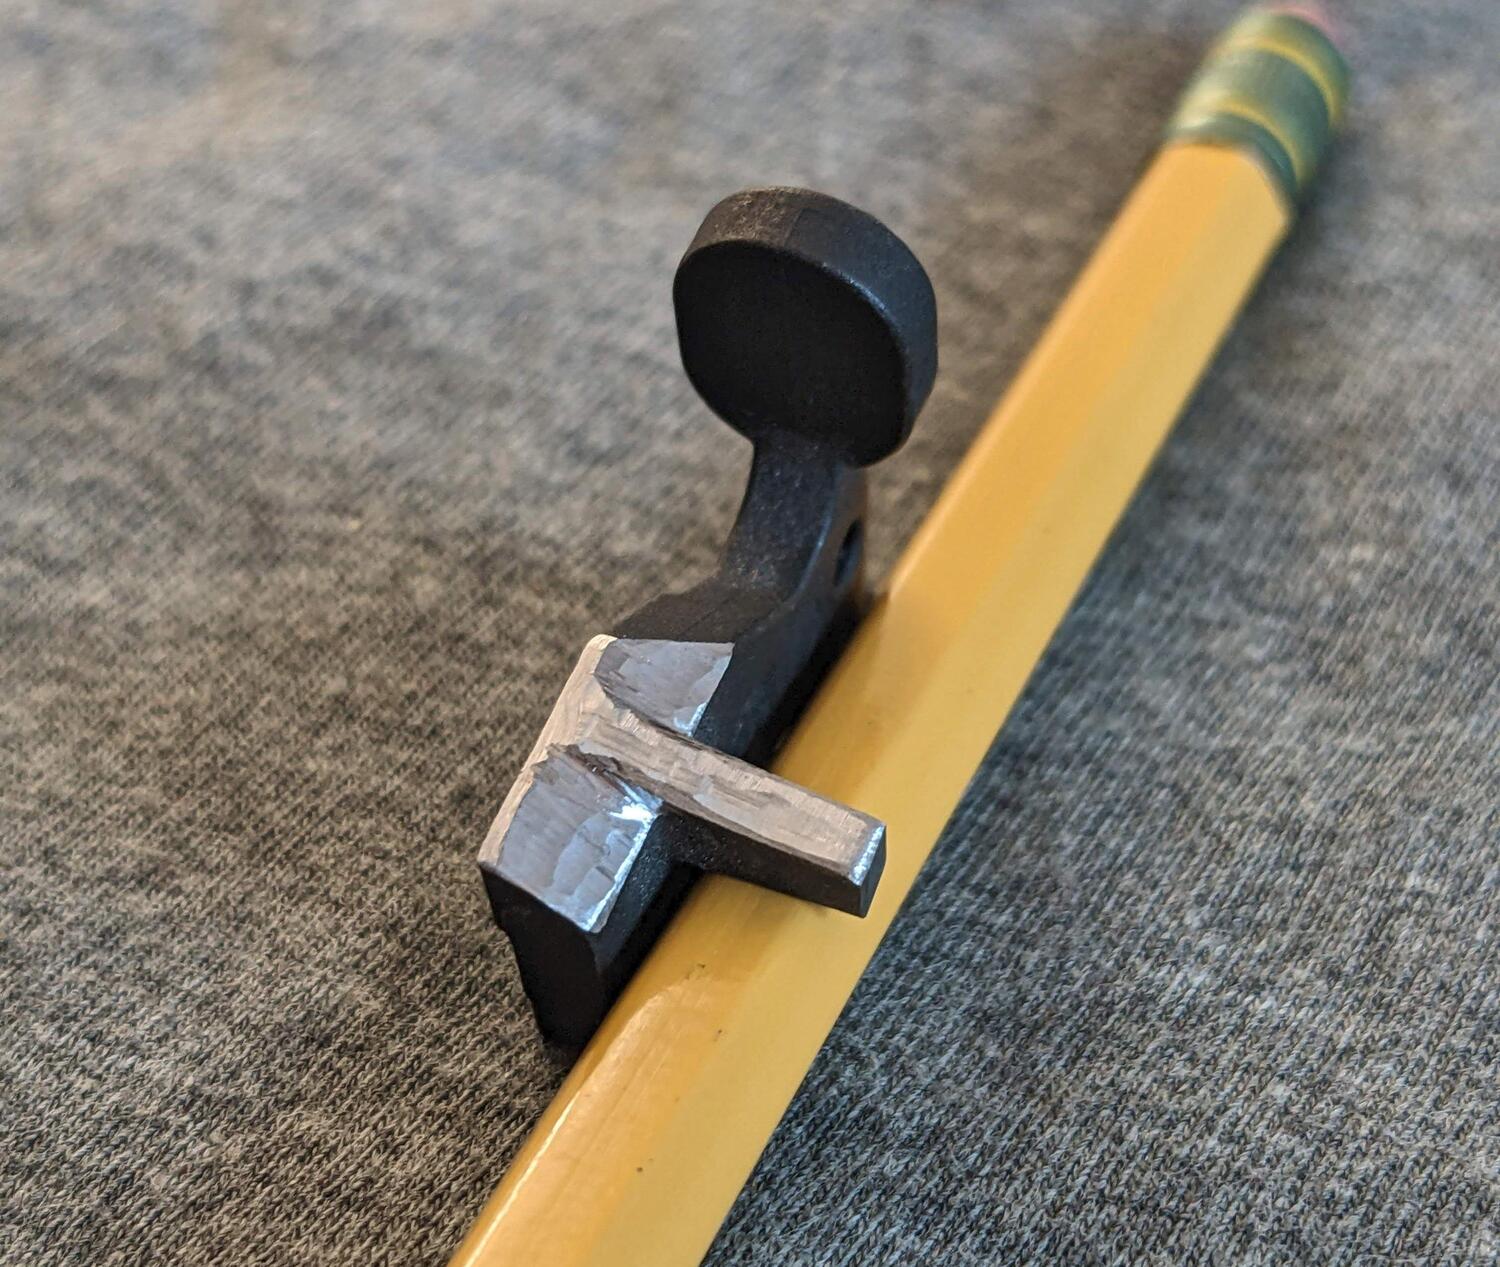
After this cut was done, there was still more grinding and cutting needed to make the catch function correctly. The AR9 catch doesn’t have the same geometry as the AR-15 catch. It was slightly taller and was missing the sort of angled ramps which turned out to be very important.
As discussed above, the follower pushes up on the catch after the last round is fired, right? Well, it actually pushes up on the catch after the last round is chambered but not fired (since the magazine is now empty), but the bolt still needs to cycle back after firing that last round. The ramps in the original catch allow the lugs on the bolt to push the catch back down as it moves back. Without those ramps, the bolt lugs jam up on the modified catch (I found this out while testing the bolt movement manually, I’m sure firing at this stage would not have ended well…). More grinding was necessary to add these ramps to the modified catch.
One of the forum discussions mentioned this, but I ended up grinding much more than I previously thought I would need to.
I first ground down the top to match the height of the original. Then I thinned out the finger to give more clearance between the catch and the bolt. Lastly, I formed the ramps for the bolt lugs, grinding a little, test fitting and checking the bolt movement with an empty magazone installed, the grinding some more. After the bolt was freely moving back over the catch, I removed just a little more metal for clearance. After cleaning up the grinds and rounding out the edges a bit, the new catch was done!
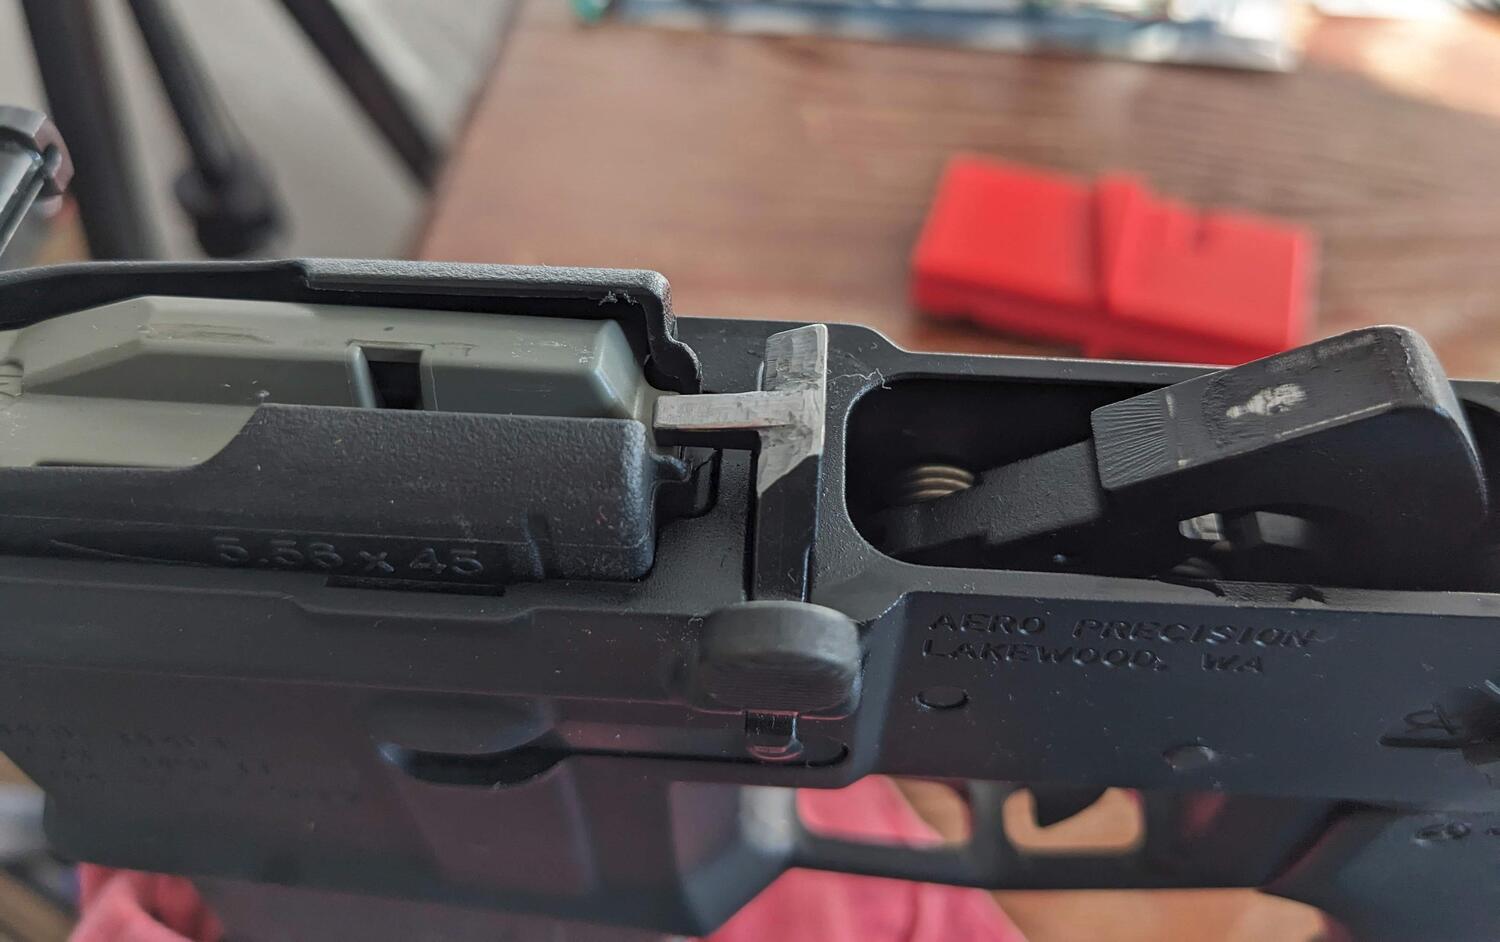
Here’s the new catch installed.
Live Testing
Well, ok, maybe not done done. I still had to test it for real. Which I did by loading some magazines with one round each. It worked quite well, holding open every time.
Update [2024-05-23]
I’ve put plenty more mags through this gun since my bolt catch work with absolutely no failures! For my first build, I’m very happy with the reliability. Perhaps I’ll write a a future post about the whole build.
